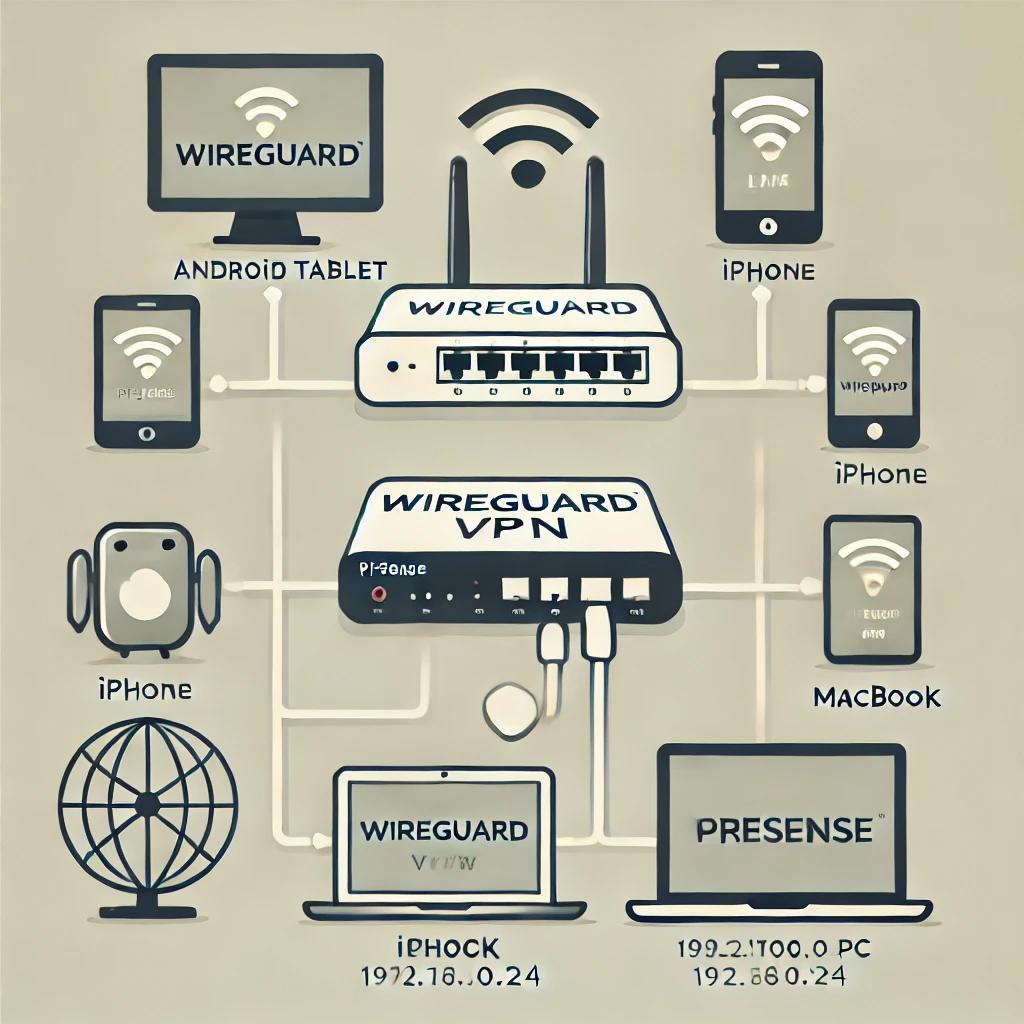
WireGuard on pfSense: A Step-by-Step Guide for Android, iPhone, and macOS
This is a step-by-step walkthrough for setting up WireGuard on pfSense and configuring Android, iPhone, and macOS clients.
Step 1: Install WireGuard on pfSense
- Log in to pfSense Web UI (
https://your-pfsense-ip). - Go to
System→Package Manager→Available Packages. - Search for “WireGuard” and click Install.
- Wait for the installation to complete.
Step 2: Configure WireGuard on pfSense
1. Enable WireGuard and Create a New Tunnel
- Go to
VPN→WireGuard. -
Click Add Tunnel and set:
- Enable: ✅ (Checked)
- Description:
WireGuard VPN - Listen Port:
51820(default, change if needed) - Interface Keys:
- Click Generate next to Private Key (this auto-generates the Public Key).
-
Tunnel Address:
1
10.0.0.1/24
(This is the VPN subnet,
10.0.0.1is pfSense’s WireGuard IP)
- Click Save Tunnel.
2. Add Peers (Clients)
For each device (Android, iPhone, MacBook), create a Peer.
- Click Edit next to your tunnel.
- Scroll to Peers → Click Add Peer.
-
Configure the Peer:
- Public Key: (Will be generated from the client in Step 4)
-
Allowed IPs:
1
2
3
10.0.0.2/32  # Android
10.0.0.3/32  # iPhone
10.0.0.4/32  # MacBook
(Each device needs a unique VPN IP.)
- Persistent Keepalive:
25(prevents NAT timeout issues)
- Click Save & Apply Changes.
3. Assign WireGuard as an Interface
- Go to
Interfaces→Assignments. - Find the WireGuard Tunnel (
wg0). - Click Add → Name it
WG. - Click Save & Apply Changes.
4. Allow Traffic Through the Firewall
- Go to
Firewall→Rules→ WG (WireGuard interface). - Click Add (to create a rule).
- Action: Pass
- Interface:
WG - Protocol: Any
- Source:
10.0.0.0/24 - Destination:
Any(allows access to local and internet)
- Click Save & Apply.
5. Allow VPN to Access Local Network
- Go to
Firewall→Rules→LAN. - Click Add and set:
- Action: Pass
- Protocol: Any
- Source:
10.0.0.0/24 - Destination:
192.168.0.0/24(Your home LAN)
- Click Save & Apply.
6. Enable Packet Forwarding
- Go to
System→Advanced→Firewall & NAT. - Check
Enable Packet Forwarding. - Save & Apply.
Step 3: Configure Clients (Android, iPhone, macOS)
Each device needs:
- A private key (generated on the client).
- The public key sent to pfSense (Step 2.2).
- A WireGuard configuration file.
1. Android Setup
- Install WireGuard from the Google Play Store.
- Open WireGuard → Click + → Create from Scratch.
-
Enter:
1
2
3
4
[Interface]
PrivateKey = (Generated on the tablet)
Address = 10.0.0.2/24
DNS = 192.168.0.1  # pfSense or your home DNS
-
Add a Peer:
1
2
3
4
5
[Peer]
PublicKey = (pfSense Public Key)
Endpoint = your-public-ip:51820
AllowedIPs = 192.168.0.0/24 # This is for split tunnelling
PersistentKeepalive = 25
[!NOTE] For full-tunnelling, specify
0.0.0.0/0in theAllowedIPsfiled. - Click Save & Activate.
2. iPhone Setup
- Install WireGuard from the App Store.
- Open WireGuard → Add a new tunnel.
- Enter the same settings as Android but use:
Address = 10.0.0.3/24AllowedIPs = 192.168.0.0/24
- Save & Activate.
3. macOS Setup
-
Install WireGuard via Homebrew:
1
brew install --cask wireguard-tools
- Open WireGuard → Create a new tunnel.
-
Enter:
1
2
3
4
5
6
7
8
9
10
[Interface]
PrivateKey = (Generated on Mac)
Address = 10.0.0.4/24
DNS = 192.168.0.1

[Peer]
PublicKey = (pfSense Public Key)
Endpoint = your-public-ip:51820
AllowedIPs = 192.168.0.0/24
PersistentKeepalive = 25
- Save & Activate.
Step 4: Testing the VPN
- Activate WireGuard on your devices.
- Check connectivity:
- Ping your router:
ping 192.168.0.1 - Ping a local device:
ping 192.168.0.100 - Run
traceroute 192.168.0.1(if needed).
- Ping your router:
- Check logs in pfSense:
- Go to
Status > System Logs > VPN (WireGuard). - Ensure your device connects successfully.
- Go to
Step 5: Troubleshooting
| Issue | Solution |
|---|---|
| VPN connects but no access to LAN | Ensure firewall rules allow 10.0.0.0/24 → 192.168.0.0/24 |
| Can’t reach internet | Set DNS = 192.168.0.1 in WireGuard config |
| Connection drops frequently | Increase PersistentKeepalive = 25 |
| Can’t connect | Check firewall logs for dropped packets |
| Bed address | Check the subnet configuration |
Conclusion
This guide walks through setting up WireGuard on pfSense and connecting Android, iPhone, and macOS clients with split tunneling. After following these steps, your devices should have secure remote access to your home network without routing all internet traffic through the VPN.
